
|
You can purchase the Cookie Craving apron and accessories printed on one Fat Quarter (21" x 18") of quilting weight cotton from Spoonflower if you would like to sew your own. 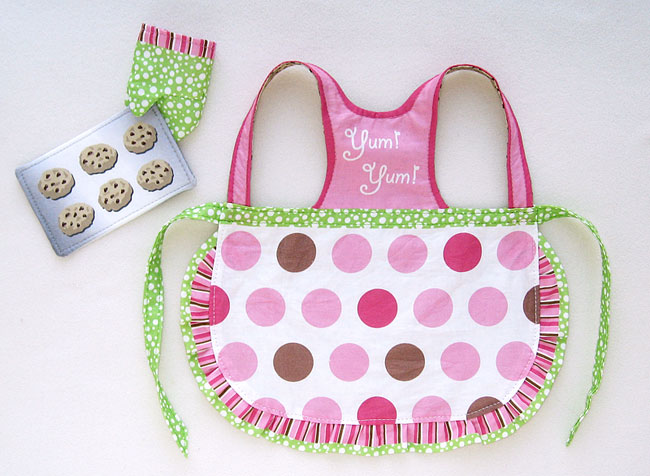 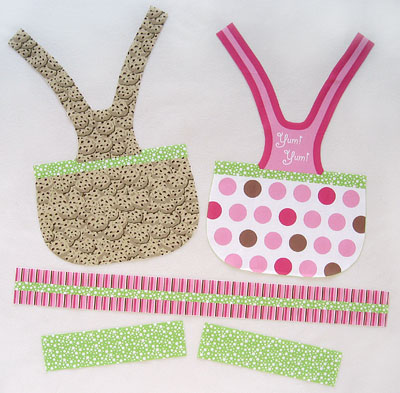 APRON INSTRUCTIONS
1. Cut out the Apron pieces: - Both sides of the apron - Ruffle - Ties 2. Fold the apron ties in fourths (like double-fold bias tape) and topstitch 1/8" from each side along both long edges. For a beveled edge, fold 1/8" over on one edge. Then fold the corners to the center. Continue folding the apron ties in fourths (raw edge to the center and then the whole piece in half). Ironing helps keep it in place before topstitching. 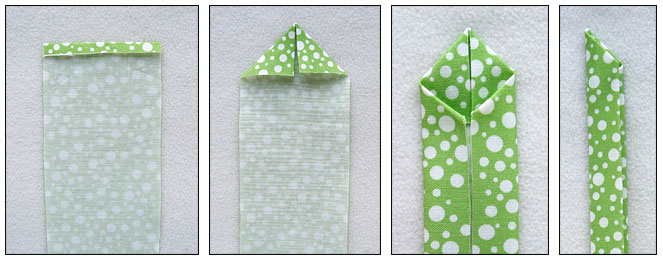
3. Iron (or fold) the striped apron ruffle in half. Gather the ruffle to the length of the apron skirt bottom. 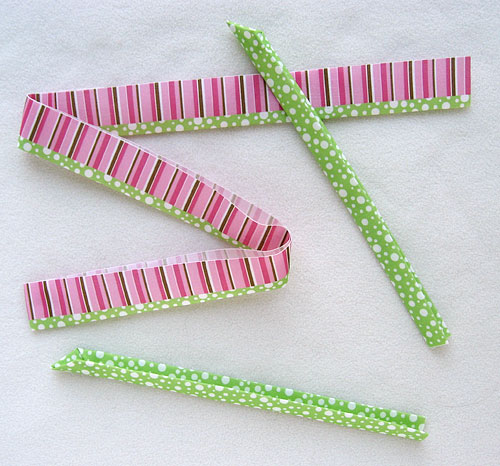 4. Baste the apron ties and apron ruffle to the right side of one of the apron skirt pieces. Use 1/8" seam allowance for this basting step so that your stitches will be hidden when you sew the two apron pieces together. When basting the apron ties to the right side of one of the apron skirt pieces, apron ties should be pointing to the center of the skirt. Align the apron ties to the the bottom edge of the dot pattern along the front. Sew the ruffle to the right side of one of the apron skirt pieces with 1/8" seam allowance also. You can angle the ends of the ruffle so they will taper as they near the waist of the apron. 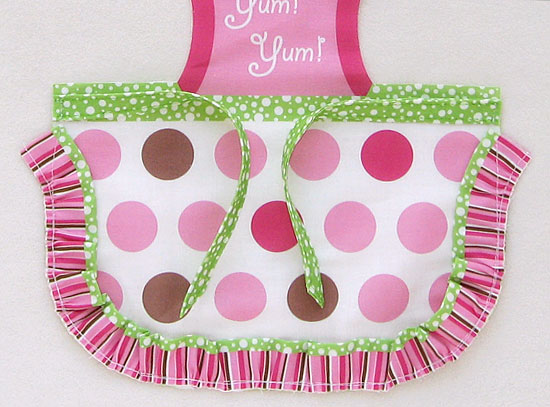 5. With right sides together, sew the apron pieces together using 1/4Ē seam allowance and leaving openings on the A and B areas (end of apron straps and along the waist where they'll be inserted). 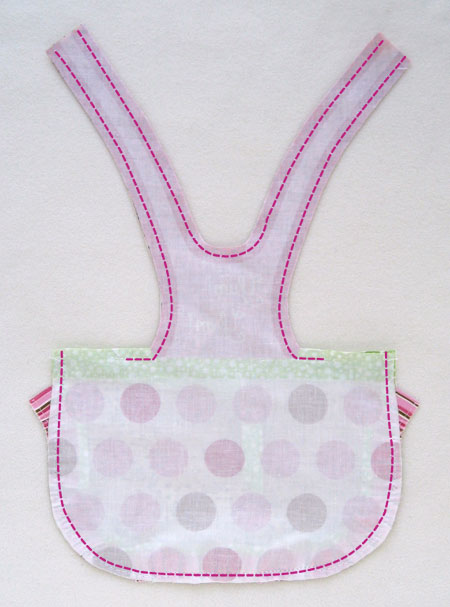 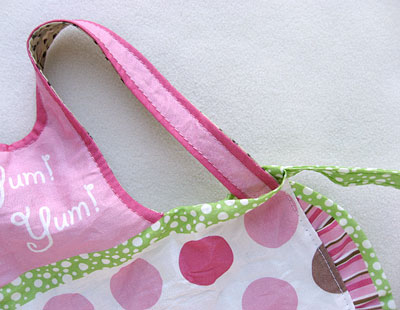 6. Clip/notch corners and turn right side out. Turning the apron's shoulder straps right side out can be a little tricky. Using a long crochet hook or similar tool will help. Alternately, attach a safety pin to the end of the strap and feed it through until it's turned right side out.
7. Topstitch along apron straps and along apron skirt bottom. 8. Insert apron straps into the corresponding opening in the skirt top, matching A and B points. (Shown on the right.) 9. Topstitch near the top and also near the bottom of the green apron waist band 1/8" from edge, closing the openings and securing the apron straps in place. OVEN MITT INSTRUCTIONS 1. Cut out the Oven Mitt pieces. 2. With right sides together, sew oven mitt front top to oven mitt front bottom along middle/thumb seam (using 1/8" seam allowance). Turn the thumb right side out. 3. With right sides together, sew the oven mitt front to the oven mitt back (using 1/8" seam allowance). 4. Turn the oven mitt right side out and fold 1/4" of the pink striped wrist band to the inside of the oven mitt and topstitch. 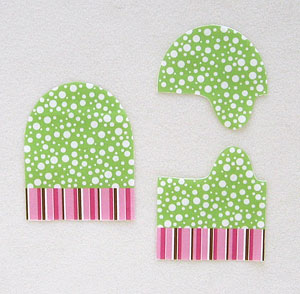 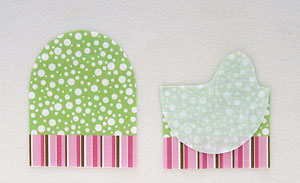 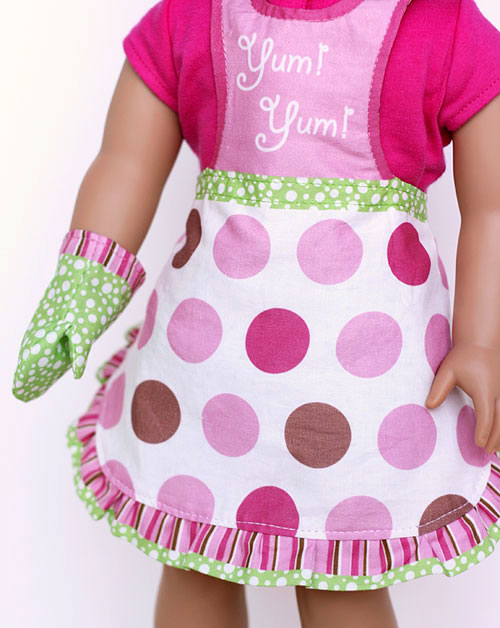 COOKIE PAN INSTRUCTIONS 1. With right sides together, sew around edges (1/4Ē seam allowance). Leave an opening for turning. Clip/notch corners.  2. Turn right side out and topstitch close to the edge. For a more rigid cookie pan, insert a piece of thick interfacing the size of the cookie pan into the opening before closing and topstiching.  |
||
© 2019 Sew Me a Garden. All rights reserved.