
|
This skirt has very flexible sizing, but fits girls wearing sizes 4 through 10 best. The finished skirt is approximately 15" long (or 17" with the ruffle). You can purchase the Swim Fishy Swim skirt and accessories printed on one yard of fabric from Spoonflower if you would like to sew your own. 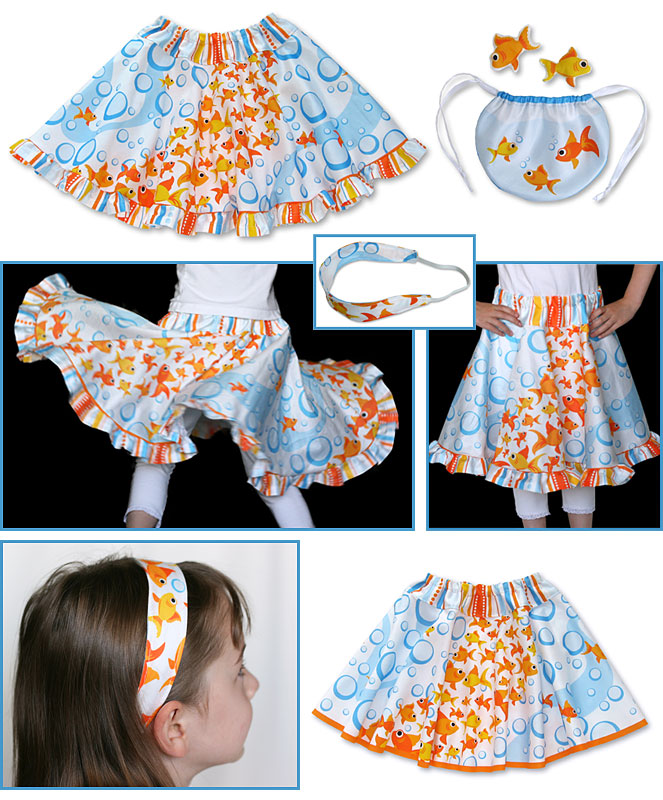 SKIRT INSTRUCTIONS 1. Cut out the skirt pieces: - Main skirt circle - Striped waistband - Optional ruffle (if ordered on a 56"+ width fabric such as Organic Cotton Sateen or Organic Cotton Interlock Knit) 2. Fold the striped waistband in half and sew/serge it into a loop. 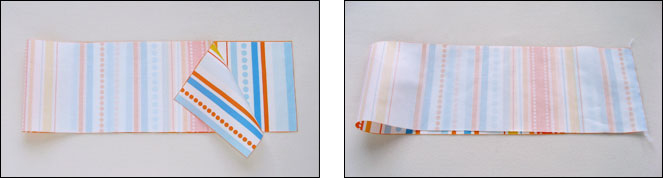
3. Sew the Swim Fishy Swim label to the waistband (optional). Fold the raw edges of the label under and topstitch the label centered on half of the waistband fabric. 4. Measure, cut and sew elastic in a circle. 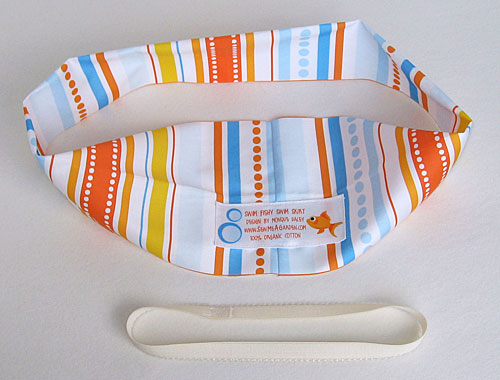 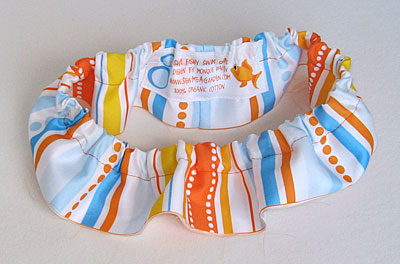 5. Fold the waistband in half and encase the elastic in waistband, taking care to not catch the elastic in your stitching.
 (Alternately, sew the encasing leaving an opening. Then insert the elastic using a safety pin attached to one end. Finally sew the elastic ends together and close the encasing opening.) 6. Sew the waistband to the skirt. With right sides together, sew or serge the waistband to the skirt top. Optionally topstitch 1/8" to 1/4" from the seam on the striped waistband side of the seam. 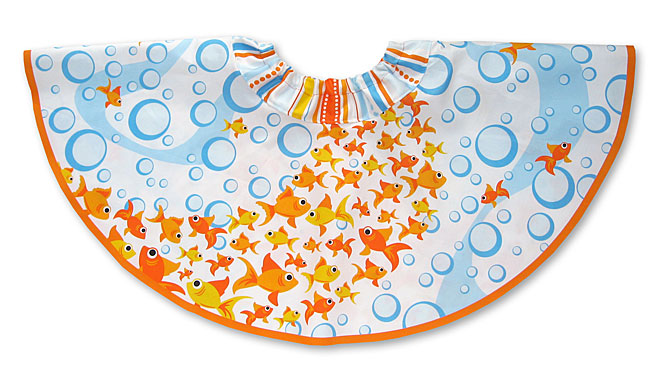 Options for finishing the bottom of the skirt: - Hem the bottom, folding over some or all of the orange bottom border. - Finish with a coordinating color of bias tape (you will need 3.5 yards). - Attach the coordinating stripe ruffle (included if ordered on a 56"+ width fabric such as Organic Cotton Sateen or Organic Cotton Interlock Knit). See below for instructions on attaching the coordinating ruffle. - Attach a ruffle made from your own coordinating (solid, stripe, etc) fabric. RUFFLE INSTRUCTIONS 1. Cut out the coordinating striped ruffle strips (there are 5 strips, each 36" long). 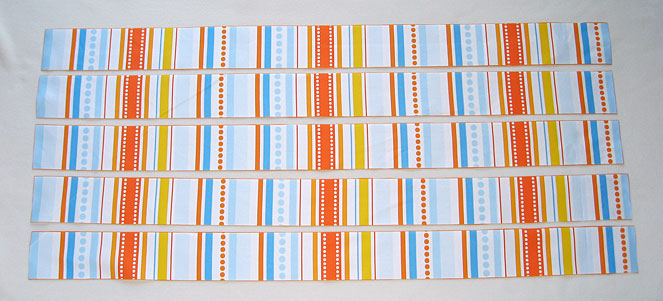 2. Sew/serge the ruffle strips together to form one big circle. 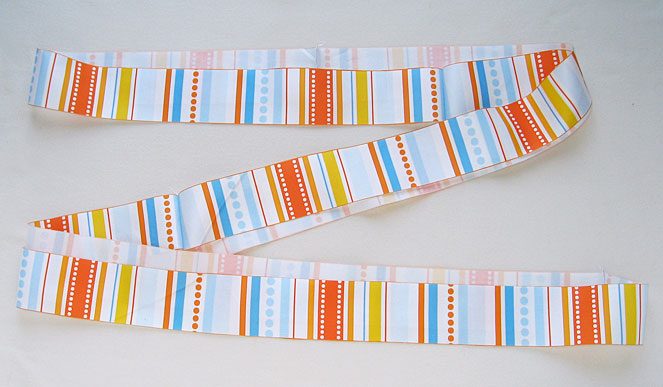 3. Hem one edge of the ruffle circle. Photo below shows a 3/4" coverstitched hem. 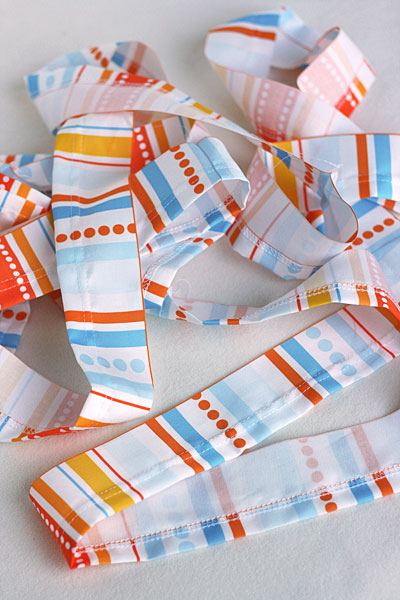 4. Gather/ruffle the top edge of the ruffle circle, using your favorite ruffling technique. (Gather the ruffle to match the length of the apron skirt bottom.) 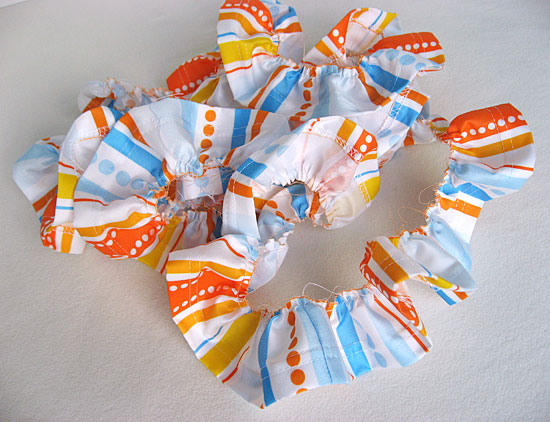 5. With right sides together, sew or serge the ruffled edge of the ruffle to the skirt bottom. (Pinning the ruffle in place beforehand is important to ensure that your ruffle matches up to the skirt bottom perfectly and evenly around the entire bottom of the skirt.) 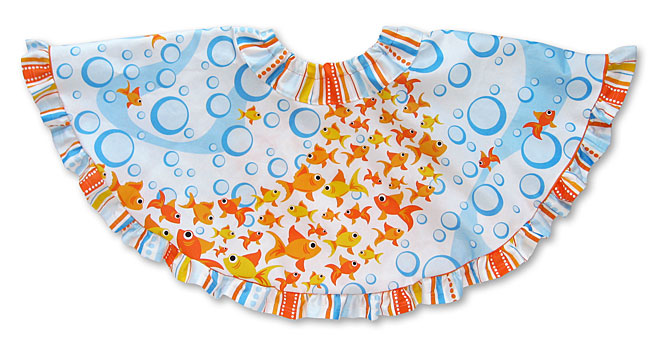 REVERSIBLE HEADBAND INSTRUCTIONS 1. Cut out the two headband pieces. 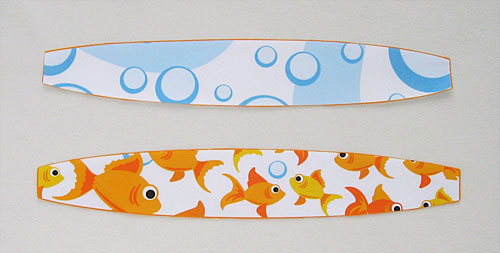 2. With right sides together and using 1/4" seam allowance, sew along the long edges of the headband. 3. Turn right side out. 4. Cut a piece of elastic that gives a snug fit. In my example, I used a piece of 1/4" polybraid elastic that was 7.5" long (and inserted 1/2" of the elastic into the headband). 5. Tuck the short edges of the headband to the inside and insert the elastic into each side of the headband. 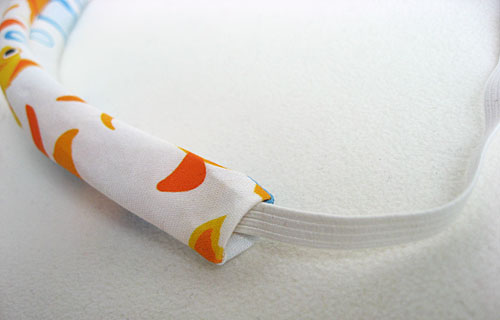 6. Topstitch around all edges of the headband. (Feel free to sew back and forth a few times on the short edges to ensure that the elastic is secured in place well.) 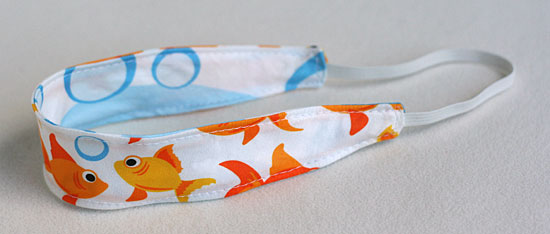 FISHBOWL BAG INSTRUCTIONS 1. Cut out the two fishbowl bag pieces. (Alternately, the fishbowl pieces could be used as pockets on a shirt or the skirt rather than making a fishbowl bag.) 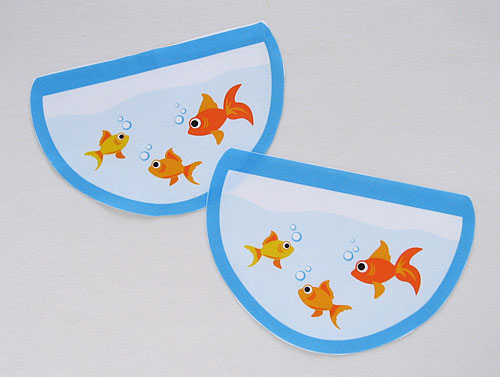 2. Serge the curved edges of each fishbowl (not together but each as a separate piece). (This step is optional.) 3. With right sides together, sew the two pieces of the fishbowl together along the curved edge, stopping slightly before the blue top edge. Also sew from the top 1/2 way down the blue top edge. (The unsewn part will be the hole for the ribbon drawstring to go through.) 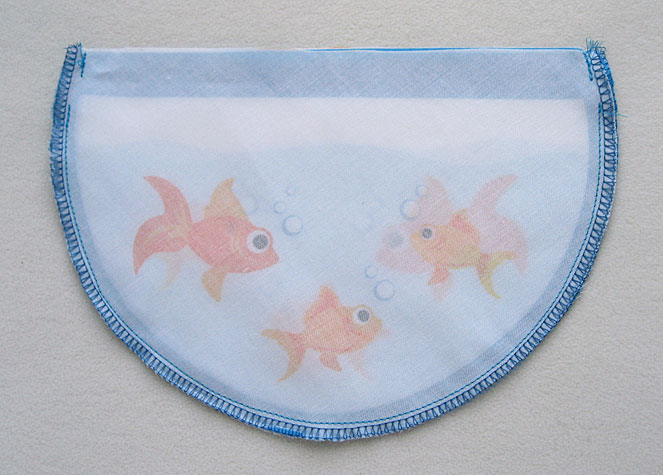 4. Serge around the top straight edge. (This step is optional.) 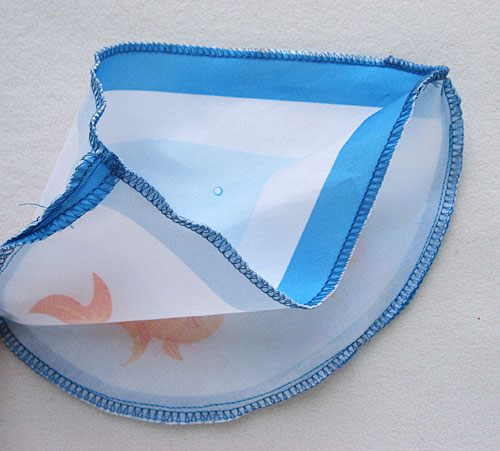 5. Turn the bag right side out. Then turn the top edge over and topstitch to the edge creating the encasing for the ribbon. 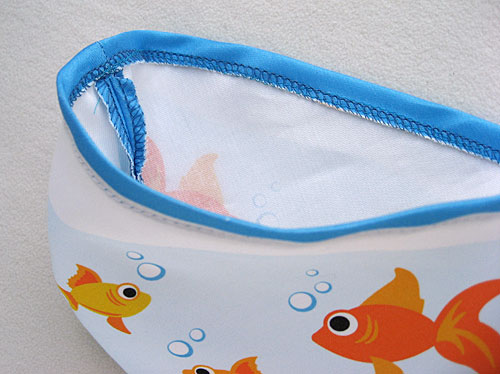 6. Cut 2 pieces of 1/4" ribbon that are each 26" long. (Heat seal the edges to prevent fraying.) 7. Thread the ribbon through the holes in the sides of the bag. Attach a safety pin to the ribbon to help thread it through the encasing. Each piece of ribbon will go around the entire top circle of the bag and come out right next to the opposite end of that same piece of ribbon, creating a double drawstring bag. 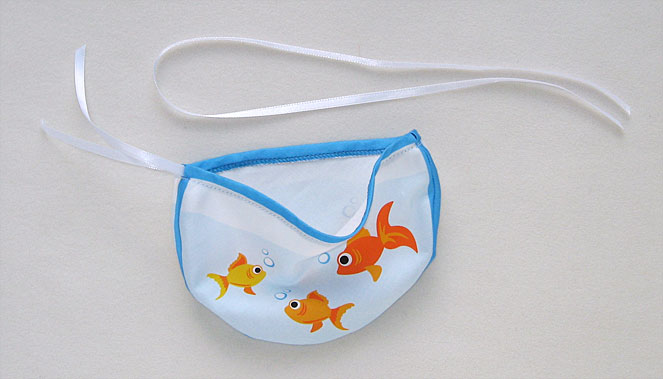 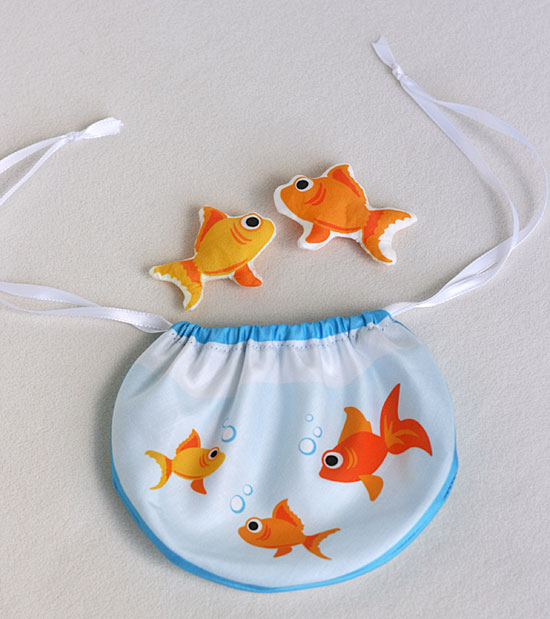 STUFFED FISH INSTRUCTIONS 1. Cut out fish leaving as much (at least 1/4" to 3/8") white seam allowance around it as possible. 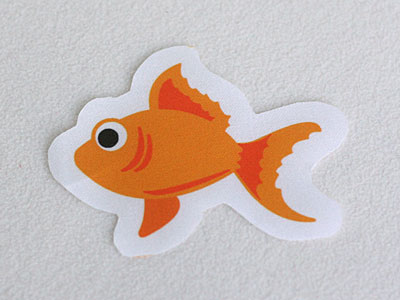 2. With right sides together and using 1/8" seam allowance, sew around the edge of the fish leaving a hole for turning. 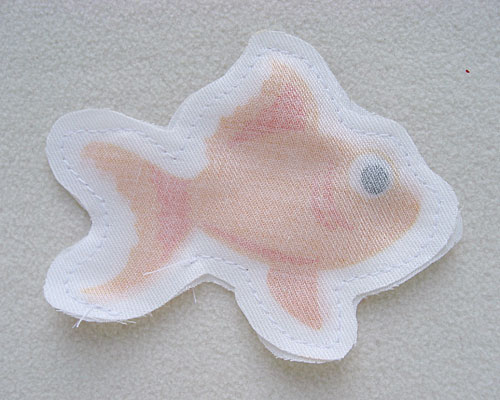 3. Clip and notch curves and corners. Turn right side out. (A dull chopstick or knitting needle is helpful in turning.) 4. Stuff the fish with polyfill and hand sew the fish closed. Use an invisible ladder stitch to close the hole that you left for turning. |
||
© 2019 Sew Me a Garden. All rights reserved.